How to configure SpamAssassin in cPanel
How to configure SpamAssassin in cPanel
1. Introduction
2. How to enable SpamAssassin
3. Filters
4. Spam Box
5. Apache SpamAssassin Configuration
- Spam Score
- Blacklist/Whitelist
Apache SpamAssassin is a user-friendly email utility which examines incoming mail for different spam characteristics. It uses various network tests and spam filtering to get an overall score in order to decide whether the mail should be considered as spam or not.
SpamAssassin tool is provided by default with all our shared and reseller hosting plans.
To enable Apache SpamAssassin utility, follow the next steps:
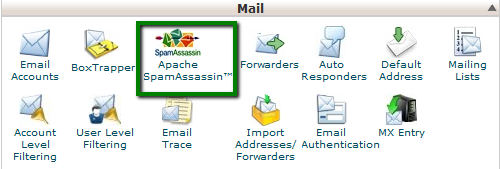
- Log into your cPanel and navigate to Mail section;
- Click on Apache SpamAssassin™ option:
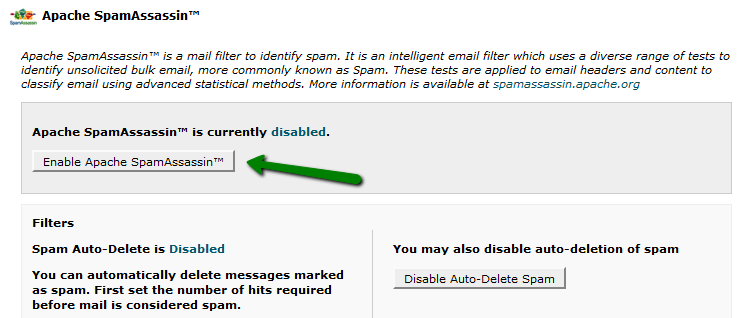
- Click on Enable Apache SpamAssassin™ button:
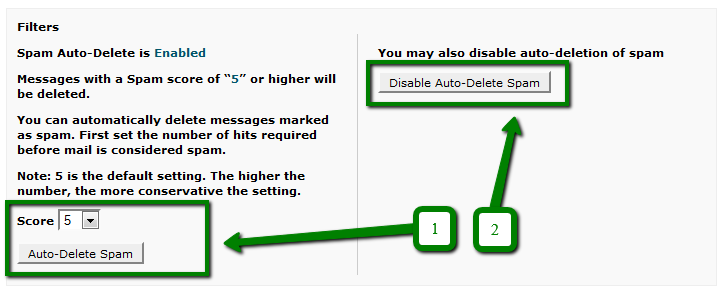
Spam Auto-Delete option automatically removes the emails which meet or exceed the spam score set. In order to set it, navigate to Apache SpamAssassin menu and find Filters widget:
- You can set the required score in a drop-down menu (from 1 to 10).
- To enable the filter, simply click on Auto-Delete Spam button. To disable the filter, click on Disable Auto-Delete Spam.
Enable Spam Box button makes Exim create a spam folder - a separate folder in your mailbox, which will collect incoming emails marked as spam.
NOTE: spam folder may not be displayed by default once Spam Box is enabled. It will be required to enable its display in the Webmail client settings.
It is possible to delete the messages collected by Spam Box within one click on Clear Spam Box button.

5. Apache SpamAssassin Configuration
- Spam score
Each incoming mail is being screened by SpamAssassin and given a score, based on the spam characteristics. By default, email messages with the score 5 are considered to be spam. However, it is possible to adjust the filter according to your needs.
In order to do it navigate to Apache SpamAssassin™ Configuration widget and click on Configure Apache SpamAssassin™:

You will be redirected to a menu where several options are available, setting your own spam score is among them. Find required_score field and insert the new value:
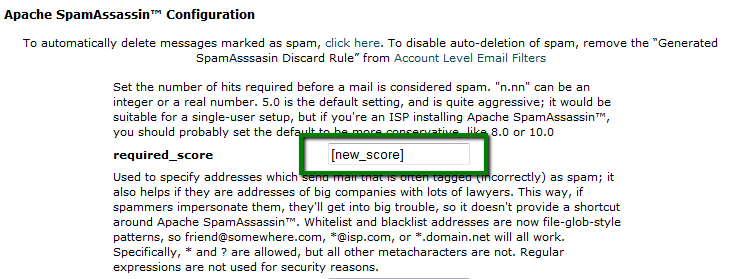
[new_score] should be replaced with a number. All the incoming mails which are scored with this number and higher ones, will be marked as spam.
0 - means that every incoming mail will be marked as spam.
5 - default score, works well for typical users.
NOTE: the lower your score is, the more restrictive filter will be.
Once done, click on Save at the bottom of the page.
- Blacklist/Whitelist
Some mails may be incorrectly detected as non-spam by Apache SpamAssassin. If these email messages often come from the specific email senders, you can blacklist them. SpamAssassin will then tag those ones as spam.
To blacklist certain sender, just enter it into the one of blacklist_from fields: 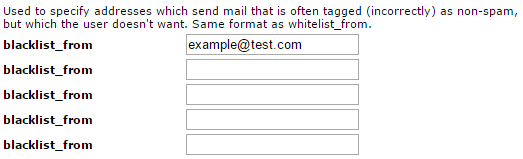
If SpamAssassin often blocks certain email senders and marks its mails as spam (incorrectly), it is possible to add the sender to whitelist.
To whitelist specific sender, just enter it into one of whitelist_from fields: 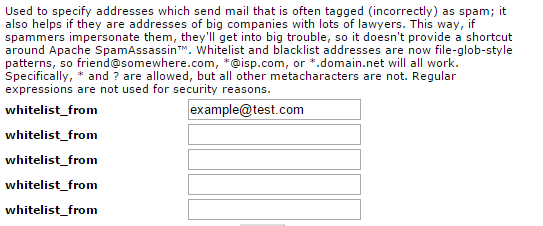
NOTE: whitelist and blacklist addresses are now file-glob-style patterns, so [email protected], *@test.com or *.test.com will all work. Specifically * and ? are allowed, but all other metacharacters are not. Regular expressions are not used for security reasons.
